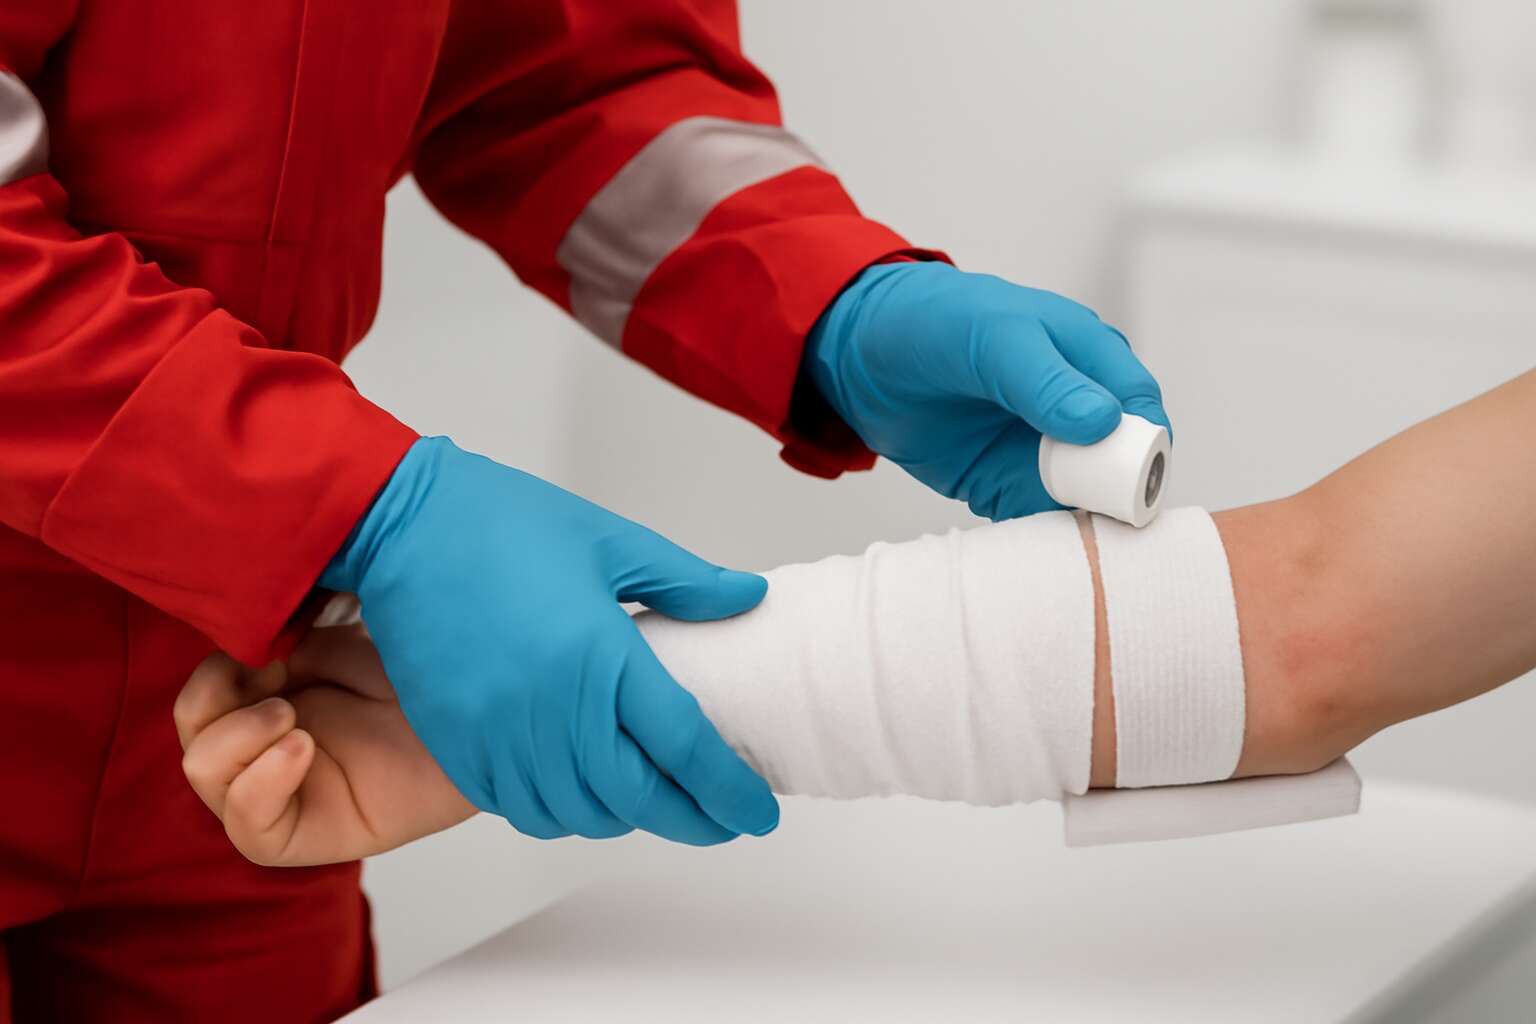
Understanding straight splints and first aid
Definition and types of straight splints
In the field, a steady hand can turn fear into measured action, turning a tense moment into calm momentum. Properly applied straight splints first aid can limit movement, reduce pain, and buy precious minutes before professional care arrives.
Understanding straight splints and first aid starts with a simple definition. A straight splint is a rigid device used to immobilize a limb along its natural axis. Common types include:
- Wooden straight splints shaped to cradle the limb
- Rigid metal or aluminium splints for durable support
- Formable straight splints that become straight when molded
These options fit different scenarios, from rugged outdoors to clinic settings. In South Africa’s rural landscapes, these skills travel far between clinics and communities. When applying, ensure padding protects bony prominences, immobilize joints above and below, and secure with tape.
Indications for use in emergency care
In rural South Africa, emergency response times can stretch beyond 30 minutes, turning a frightening moment into a test of nerve and judgment. Understanding when to deploy straight splints first aid helps transform fear into measured action and keeps the limb from moving other than its natural axis, reducing the risk of further injury while help travels your way.
Indications for use in emergency care include the following scenarios:
- Suspected bone fractures with visible deformity or swelling
- Hard-to-control pain from suspected broken limbs when movement worsens symptoms
- Injury where joints above or below show instability or tenderness
Used in the field, they become a bridge to professional care, preserving alignment and allowing clinicians to assess without extra disruption.
Materials and tools for straight splints
In rural South Africa, every minute matters; emergency response can drift beyond 30 minutes, turning fear into a test of nerve. straight splints first aid may sound modest, yet it quietly preserves limb alignment when help trails the horizon.
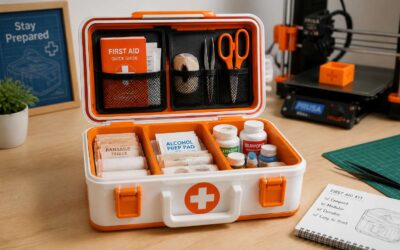
Understanding the toolkit is less about drama and more about readiness. A sturdy, lightweight setup—rigid core, soft padding, and secure containment—lets the limb stay on its natural axis until professionals arrive. In practice, I keep a compact, well-ordered kit ready to go.
- Rigid supports: lightweight boards, firm cardboard, or molded splint material
- Soft padding: cloth, bandages, or gauze
- Adhesive tape or cohesive bandage to secure
- Scissors and clean gloves for hygiene
- Antiseptic wipes or hand sanitiser for cleanliness
In the field, these materials become the quiet bridge to care—practical, dependable, and unmistakably South African in their pragmatism.
Limitations and contraindications
In rural South Africa, straight splints first aid carries the promise of time bought and pain eased. Its power fades without respect for limits. These splints help preserve limb alignment, but they aren’t a substitute for professional care—the horizon still holds the paramedics and clinicians. When in doubt, monitor circulation, avoid forcing a deformity, and stay calm as the wind shifts.
Understanding these boundaries is essential for safe practice in field emergencies.
- Not a substitute for urgent medical care and should not realign a deformity.
- Avoid when spinal injury is suspected; immobilize with caution and seek guidance.
- Do not apply to open fractures with active bleeding without first controlling bleeding.
- If numbness, tingling, cold, or pale skin appears, reassess perfusion.
- Ensure the splint is not overly tight; monitor distal pulses and comfort.
Assessing an injury before splinting
Scene safety and initial assessment
In the heat of a roadside incident or a clinic corridor, the first act is safety. One measured glance to secure the scene can spare limbs from needless harm—the kind that sneaks in while you reach for a splint. This is straight splints first aid in action: a calm check before any immobilisation.
Before splinting, assess scene safety and the patient’s condition with a steady, practical eye. If danger abounds, retreat; if not, stabilize gently and align to minimise pain.
- Scene safety and surrounding hazards
- Consciousness, alertness, and pain level
- Circulation, sensation, and movement distal to the injury
This measured approach keeps the method precise and safe in any South African setting.
Neurovascular checks after injury
Streets glow under siren lights, and in that moment every second breathes danger. In straight splints first aid starts with a single, deliberate pause: assess before immobilising. A calm, clear read of the scene can prevent further harm and keep the limb safe to transport.
Before you touch the limb, check scene safety and the patient’s condition with practical eyes.
- Consciousness, alertness, and orientation
- Pain level and ability to communicate
- Circulation: distal pulses, skin color, capillary refill
- Sensation and movement distal to the injury
Neurovascular checks after injury are ongoing: recheck distal pulses, color, warmth, sensation, and motor function as swelling evolves. If pulses fade or numbness worsens, escalate care and seek clinician input promptly. In South Africa, this steady, respectful approach keeps patients moving toward definitive care.
Distinguishing fractures from sprains
In the first five minutes after injury, calm assessment can halve the risk of complications. This is straight splints first aid in practice: pause, scan the scene, and plan immobilisation with intention rather than impulse. In South Africa’s busy streets and clinics, asking the patient to describe how the limb feels and watching for colour and warmth can forestall missteps once the wrap begins. A measured start keeps transport safe and errors to a minimum.
- Deformity or abnormal angling that suggests a fracture
- Point tenderness or crepitus over a bone, not just a swollen joint
- Inability to bear weight or move the limb without sharp pain
These cues help distinguish fractures from sprains while clinician input is sought. Stable vitals and clear patient feedback act as navigational beacons in South Africa’s bustling care pathways.
Pain control considerations
Calm hands, patient breath. The first minutes after injury shape the prognosis more than any later procedure. Before you wrap, perform a careful assessment: check distal color, warmth, and capillary refill; test sensation and gentle movement; note any deformity or crepitus. In South Africa’s bustling streets and clinics, this measured gaze keeps transport safe and prevents missteps when the splint finally tightens its grip.
In straight splints first aid, pain control is the tether that keeps fear from translating into motion. Stabilise with a gentle hold, explain every step, and avoid rushing the wrap. Cold packs wrapped in cloth can ease swelling, and non-prescription analgesics may be appropriate if there are no contraindications.
- Non-pharmacological measures: reassurance, gentle immobilisation, elevation when possible
- Pharmacological considerations: analgesics per local guidelines and patient history; avoid NSAIDs if there are risks
Applying straight splints step by step
Gather padding and immobilization materials
In the theatre of field emergencies, straight splints first aid can turn a roiling moment into steadied ground. A quick, confident immobilization reduces pain and protects delicate tissue, a truth echoed by South Africa’s responders. Gather padding and immobilization materials with the care of a mage assembling runes; you are about to forge a shield for a fragile limb.
- soft padding such as cloth, gauze, or cotton
- rigid splint materials (board, sturdy cardboard, or a rolled magazine)
- tape, bandages, or fabric strips
- scissors or shears
- safety pins or elastic wraps
Then, position the straight splint along the limb, with padding layered to cushion every contour. Secure evenly, above and below the injury, and avoid forcing alignment. The result is calm space, a shield between pain and movement—true straight splints first aid in practice!
Position the limb and align anatomy
Chaos shortens breaths in field emergencies, but steady hands can restore rhythm. Straight splints first aid turns a roiling moment into steadied ground, easing pain and guarding delicate tissue. In South Africa’s frontlines, responders rely on solid immobilization to buy time and preserve function—almost as if guided by an unseen wind.
Position the limb with care, and let anatomy guide your hand; forceful realignment has no place here.
- Align the limb along its natural axis without bending bones artificially.
- Layer soft padding to cushion curves, then place the rigid splint along the outside.
- Secure evenly with tape or strips above and below; recheck circulation after securing.
Stay calm, monitor color and temperature, and be ready to adapt as conditions shift.
Secure the splint and immobilize joints
Dark corridors of a field clinic yield to the sting of rain as straight splints first aid steadies a tremor in time. In South Africa’s on-the-ground care, a steady hand turns a roiling moment into relief, where measured restraint buys precious minutes and preserves function.
Choose a rigid splint long enough to span the injured joint and the joints above and below. Layer padding to cushion curves, then align the limb along its natural axis. Secure with smooth tape above and below, and recheck for even pressure without restricting circulation.
Stay calm, monitor color and temperature, and adapt as conditions shift. This is straight splints first aid—precise, somber, and essential work that anchors the wounded to safety before help arrives.
Inspect circulation and sensation post-application
In field clinics across rural South Africa, every minute matters. Straight splints first aid offers a steadying hand when fear and pain surge. I’ve stood under rain-slashed roofs and seen a calm setup save precious minutes, keeping the limb aligned until help arrives.
- Choose a rigid splint long enough to span the injured joint and the joints above and below.
- Layer padding to cushion curves, then align the limb along its natural axis.
- Secure with smooth tape above and below, recheck for even pressure without restricting circulation.
- Inspect color, warmth, and sensation after application whenever the limb is still; compare with the uninjured side.
Stay calm, communicate softly, and monitor shifts in condition as weather or terrain changes. This is straight splints first aid—precise, somber, and essential work that anchors the wounded to safety until professional care arrives.
Provide patient education and follow-up care
In field clinics across rural South Africa, every minute matters. Straight splints first aid offers a steadying hand when fear and pain surge, a quiet ritual that keeps the limb aligned while help travels the wind-swept plains. It is practical, precise work—a safeguard against chaos as the night encroaches.
Applying straight splints step by step becomes a calm, focused routine.
- Padding and a rigid splint long enough to cover the joint and nearby joints.
- Align with the limb’s natural axis; secure with smooth tape without compressing.
- Recheck color, warmth, and sensation after securing the splint.
Patient education and follow-up care: Explain what to watch for—ongoing pain, numbness, or color changes—and when to seek help. Keep the limb still and elevated if possible, and arrange a follow-up with a clinician.
Special cases and safety guidance
Pediatric and geriatric considerations
Special cases demand extra care in straight splints first aid, where swelling, skin fragility, and comorbidities tilt risk in unpredictable directions. A cautious approach respects anatomy and comfort, turning a basic immobilization into thoughtful protection with a quiet, hopeful tension, even in SA’s crowded clinics!
- Pediatric-sized padding and gentle immobilization protect growing bones
- Children’s skin requires checking for pressure points and sensitivity
- Caregivers play a role in monitoring swelling and comfort after placement
Pediatric considerations focus on growth plates and tender skin. The approach favors lighter padding and caregiver involvement to ensure comfort without compromising stability.
Geriatric considerations acknowledge fragile skin, arthritis, and reduced sensation. Emphasize gentle padding, vigilant checks, and flexible positioning to accommodate stiffness and chronic pain.
Open wounds, contamination, and splinting
In South Africa’s bustling clinics and field scenes, straight splints first aid begins with guarding open wounds from contamination. A clean dressing and calm, deliberate immobilization can turn a chaotic moment into steady safety, where infection and movement battle for dominance. As one SA trauma nurse likes to say, “Stability buys time,” and that mindset guides every action. That is straight splints first aid.
- When available, gloves reduce contamination and protect both patient and responder.
- A sterile dressing helps keep the wound surface clean and reduce infection risk.
- Protruding objects require restraint of surrounding joints rather than forced removal, to minimize further harm.
In the act of splinting around a wound, alignment with anatomy and gentle padding shield fragile skin and delicate tissues. If water or antiseptic is at hand, a cautious rinse can be part of the narrative, while in any case the limb stays steady and protected, awaiting skilled care.
Padding techniques to prevent pressure injuries
In the field, anxiety rarely respects anatomy, but padding can be the quiet diplomat between comfort and catastrophe. In straight splints first aid, padding techniques to prevent pressure injuries are non-negotiable, especially for vulnerable patients—the elderly, those with diabetes, or neuropathy. Gentle, even padding respects contours, fills hollows, and guards delicate skin from edges of the splint. Avoid tight layers that choke circulation; reassess neurovascular status as swelling shifts.
Padding materials and arrangement can be thought of as a soft armor: foam padding, soft gauze, or cotton pads placed to cushion prominences. Options include:
- Foam strips or rolls tailored to the limb
- Soft gauze or nonwoven padding for irregular surfaces
- Cotton padding or stockinette to reduce friction
- Blister pads on high-risk points
End with a gentle, even feel and check circulation after splinting; padding remains the hinge between protection and discomfort.
When to escalate to emergency care
In straight splints first aid, timing matters more than technique. A medic once told me, “Time is tissue.” If swelling or color changes flare up after splinting, escalate without delay. A calm assessment now saves a frantic trip later.
Safety starts with control and observation. Keep the limb supported, avoid forced realignment, and monitor skin color, temperature, and sensation. If the patient can’t feel or move fingers or toes, or if the limb goes cold or blue, call emergency services now.
- Deformity with loss of normal limb alignment
- Persistent numbness or new weakness
- Cold, pale, or blue skin downstream
- Uncontrolled bleeding
Stay nearby, reassess frequently, and transport to a hospital if symptoms worsen. These signs demand urgent escalation and the right care beyond initial splinting.
Training, maintenance, and best practices
Recommended first aid certifications and courses
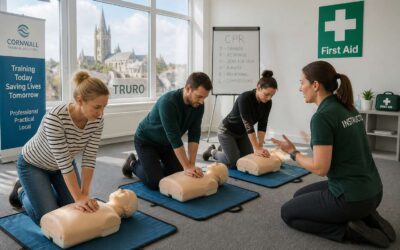
In emergencies, the right training turns chaos into a plan. Studies show proper splinting can reduce secondary injury by up to 30%. Training in straight splints first aid equips responders to stabilize quickly and confidently, buying time for definitive care. Maintenance means staying current with guidelines and equipment checks, and embracing best practices that reflect South Africa’s diverse trauma scenes.
Recommended certifications and courses for professionals include:
- Basic First Aid and CPR/AED
- Occupational First Aid Level II or equivalent
- Trauma and Splinting-focused courses
Regular refreshers and scenario-based drills keep skills sharp for responders.
Home readiness and improvised splints safety
Every minute after an injury, chaotic moments spike risk. In straight splints first aid, disciplined stabilization turns chaos into a plan. Studies show proper splinting can reduce secondary injury by up to 30%, a figure that fuels calm, decisive action when time matters.
Training stays sharp through refreshers, scenario drills, and keeping pace with evolving guidelines. For South Africa’s diverse trauma scenes, that means practical practice that translates to real field confidence—and a steady commitment to current equipment checks and best practices.
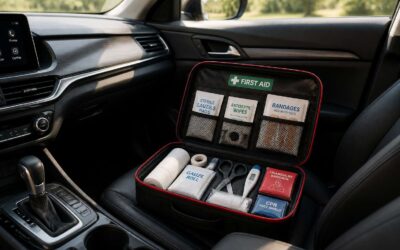
Home readiness means quick-access kits and safe improvisation. Key checks include:
- Accessibility and clear labeling of a dedicated first aid kit support quick, decisive action
- Regular inspection of padding and bandages supports hygiene and preparedness
- Thoughtful considerations of fastenings and limb alignment reduce mishaps under pressure
These considerations align with cautious, practical safety that respects South Africa’s varied environments.
Care, cleaning, and storage of straight splints
In the heat of a chaotic corridor or a rural clinic, disciplined training cuts through chaos like a scalpel of reason. Straight splints first aid is less about bravado and more about muscle memory: proper technique can reduce secondary injury by as much as 30% in drills.
- Padding, padding degradation, and fastening integrity after drills
- Moisture management, dryness, and breathable storage to sustain material integrity
- Clear labeling and rotation of stock to support hygiene and preparedness
Maintenance extends beyond equipment to the hands that wield it. In South Africa’s diverse trauma settings, care routines must be simple, portable, and resilient. With straightforward care, storage, and cleaning practices, straight splints first aid stays ready for action—calm, clean, and capable.
Avoiding common splinting mistakes
In the heat of a chaotic corridor, training is not bravado; it’s a compass. straight splints first aid becomes second nature when drills embed technique into muscle memory. Teams rehearse limb alignment, joint immobilization, and patient comfort until responses are almost automatic, even under pressure.
Maintenance stays sharp when equipment life and human hands are treated as one system. Regular padding checks, moisture control, breathable storage, and clear labeling keep stock trustworthy and ready. In South Africa’s varied frontlines, consistency wins.
Best practices mean light touch with stubborn habits: avoid over-tightening, and store splints away from heat. Use a simple checklist, rotate stock, and document wear. A calm approach reduces mistakes when every second counts.
- Avoid over-tightening
- Store away from heat
- Label and rotate stock
Additional resources for learning
“Speed without accuracy is bravado,” a mentor used to say, and it still hits when the corridor air is thick with urgency. In straight splints first aid, training converts chaos into muscle memory, so teams line up alignment and immobilization until it becomes second nature, even here on South Africa’s frontlines.
Maintenance is medicine for the kit—refresh padding, wade through moisture control, and keep storage breathable and clearly labeled so the right splint is ready when the bell rings. Consistency, not bravado, wins in the field, where a calm hand beats rushed improvisation every time.
Additional resources for learning take you beyond quick tips. Consider hands-on courses and region-specific guidelines to reinforce technique and decision-making.
- Online courses on trauma basic skills
- South Africa–focused first aid manuals
- Workshops and simulations from local EMS providers

0 Comments